You’ve created a customer and added a facility - great job! Now let’s learn how to add an asset to a customer.
Assets are typically physical entities, such as a Discharge Point, associated with a customer's account. To add a new asset, simply navigate to the Asset Tab after selecting a customer from the Customers list in the Customer facilities section.
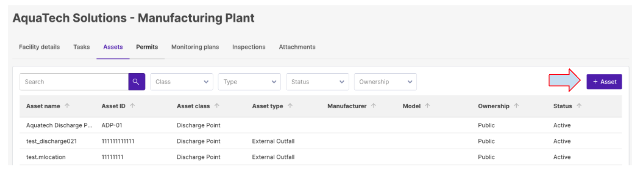
Click on the 'Assets' tab within the customer's detailed view.

Click the ‘+ Asset’ button to start the two step process of adding the new asset.
Step 1/2: Fill Out Asset Details
Provide information for the asset, which may include its name, location, type, and status.
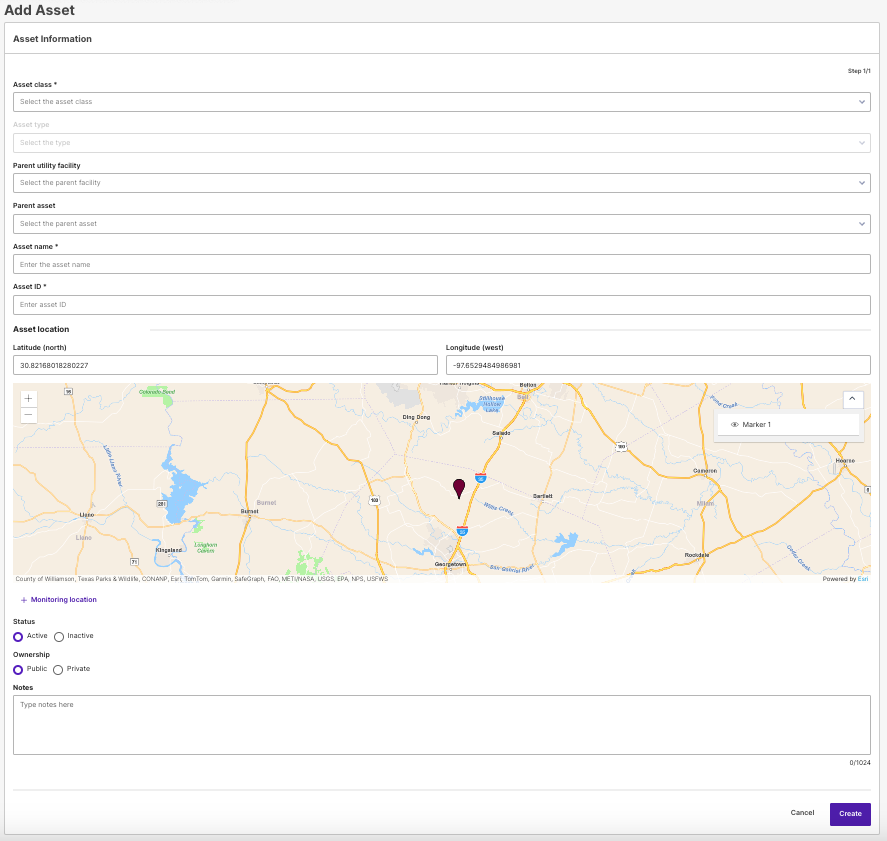
Asset Class: Select an option from the drop down picklist for the class of asset.
Asset Type: Select an option from the picklist for the type of asset.
Parent utility facility: Select from the drop down picklist the Parent facility of the asset.
Parent asset: Select from the drop down picklist the Parent Asset if applicable.
Asset Name: Name of the asset.
Asset ID: Enter a Unique identifier for the asset.
Asset Location: Latitude and Longitude values may be entered to provide a graphical map location.
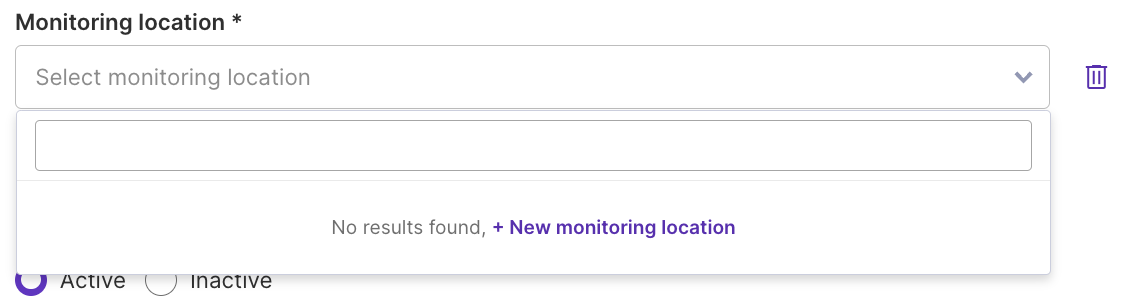
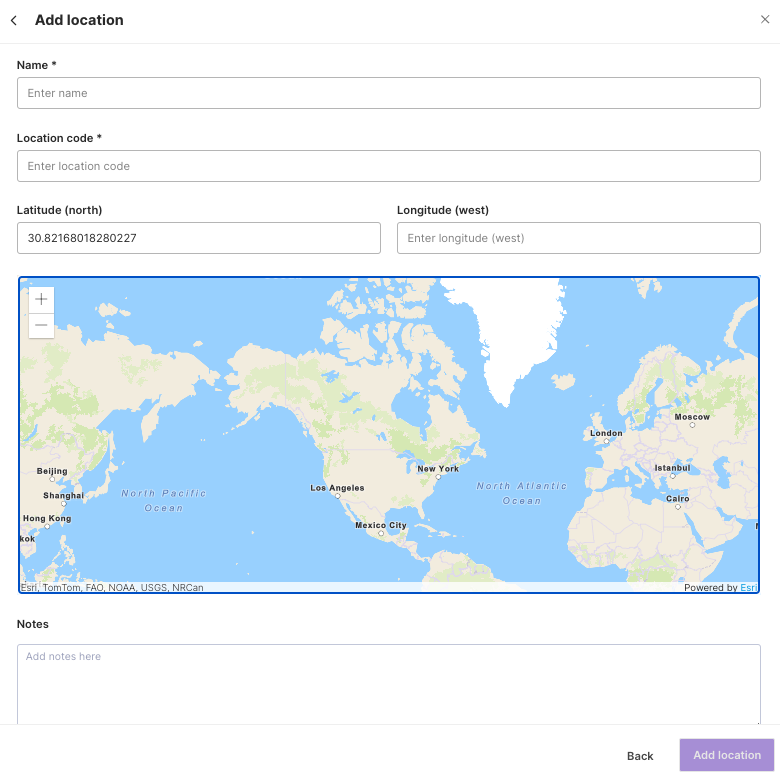
Monitoring Location: Select an existing Monitoring Location from the pick list. If there are no locations to choose from, you can create one by clicking ‘+ Monitoring location’ and entering its details such as Name, Location code, Latitude and Longitude values as well as any notes on the pop up screen that will appear.
Status: Select either Active or Inactive
Ownership: Select from either Public or Private
Notes: Section to add any applicable notes for the asset.
Step 2/2: Asset Information con’t
Additional information can be added on the next step of the process. Remember, the more information you provide, the more comprehensive a view you have of your customer, making management easy and effective.
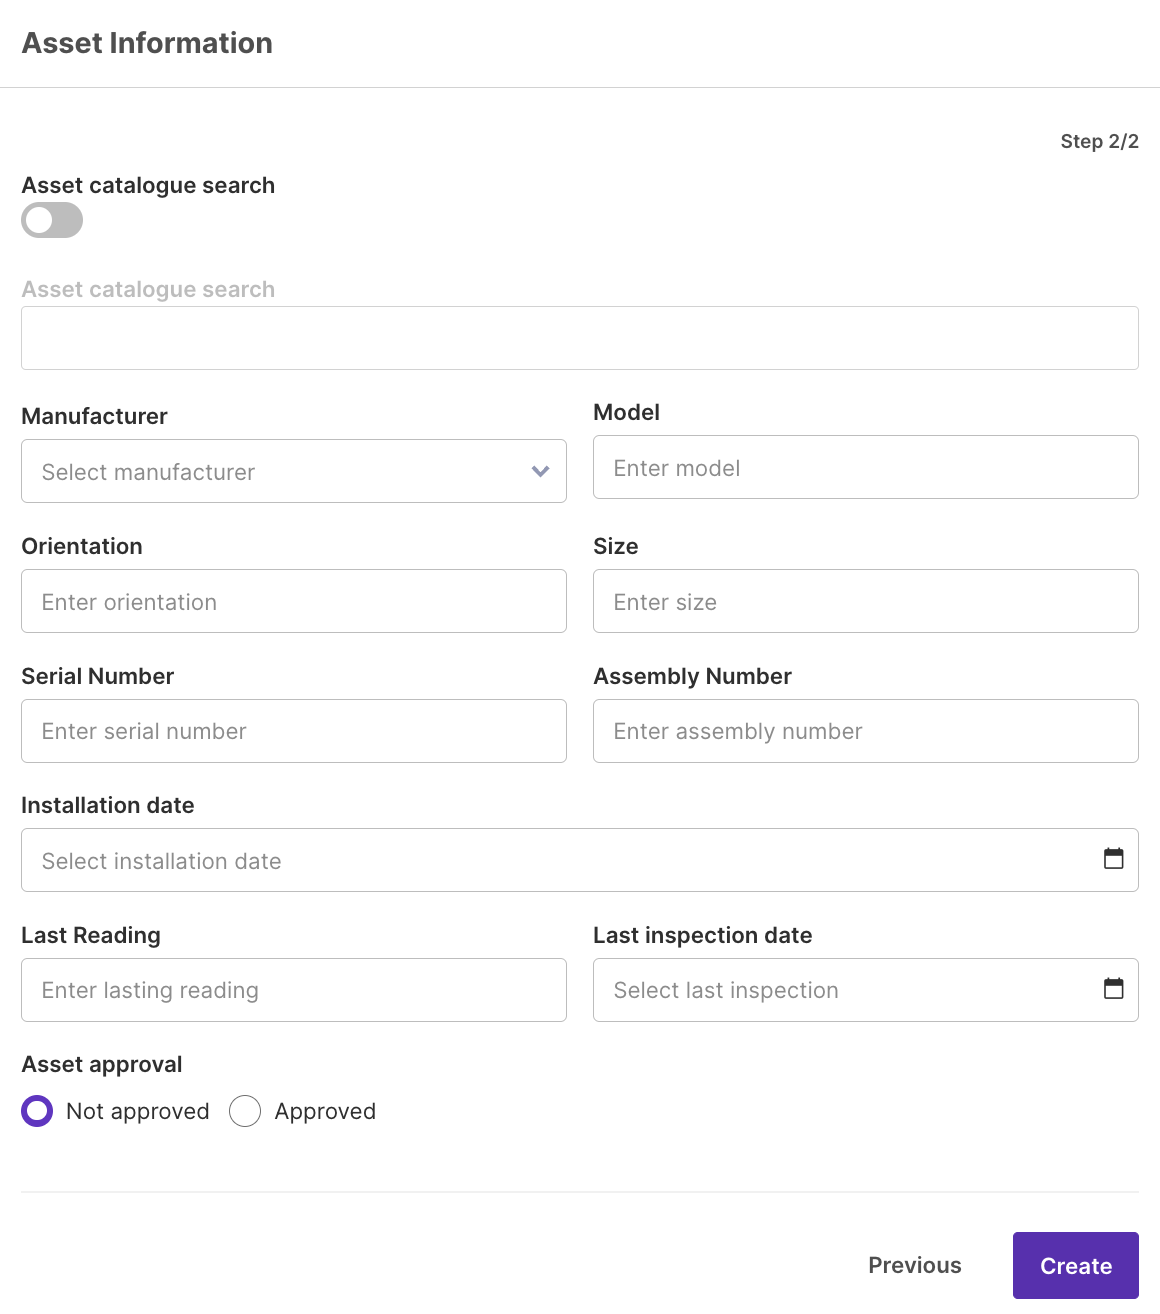
Asset Catalogue Search: Toggle to the right to add text search values for the asset.
Asset Catalogue search: Enter the text values applicable to the asset to apply to the search.
Manufacturer: Select from values provided on the pick list.
Model: Model data for the asset
Orientation: Orientation data for the asset
Size: Size of the asset
Serial Number: Serial Number data for the asset
Assembly Number: Assembly number data for the asset
Installation Date: Date asset was installed at the location
Last Reading: Last reading data for the asset
Last Inspection date: date of the last inspection performed on the asset.
Asset Approval: Selection of either Not approved or Approved.
After clicking the ‘Create’ button, the asset is created and placed under the assets tab. This feature allows for easy access and management of all your assets in one location.
To go to the next article in the Learning Path, Industrial Pre-Treatment Permits please click here.